
Last updated November 15, 2026
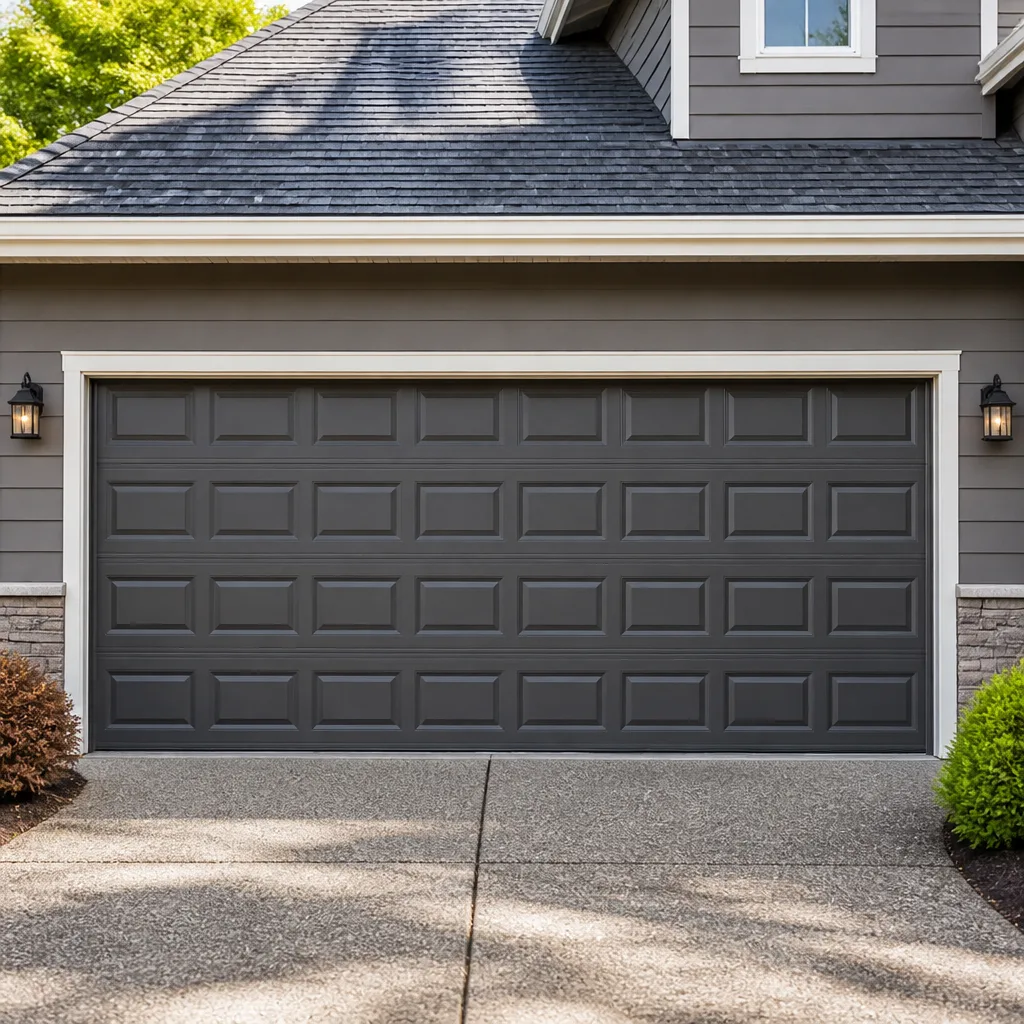 Raised-panel steel
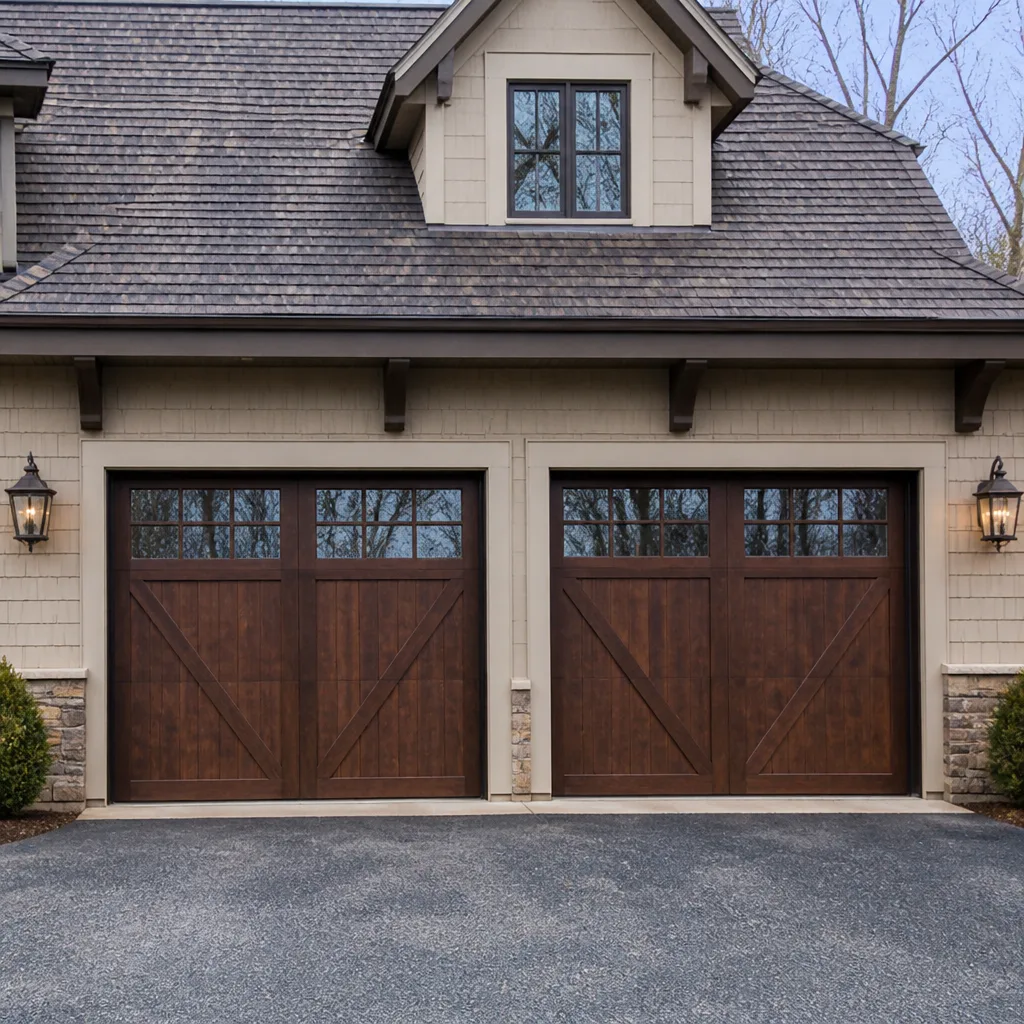 Carriage house
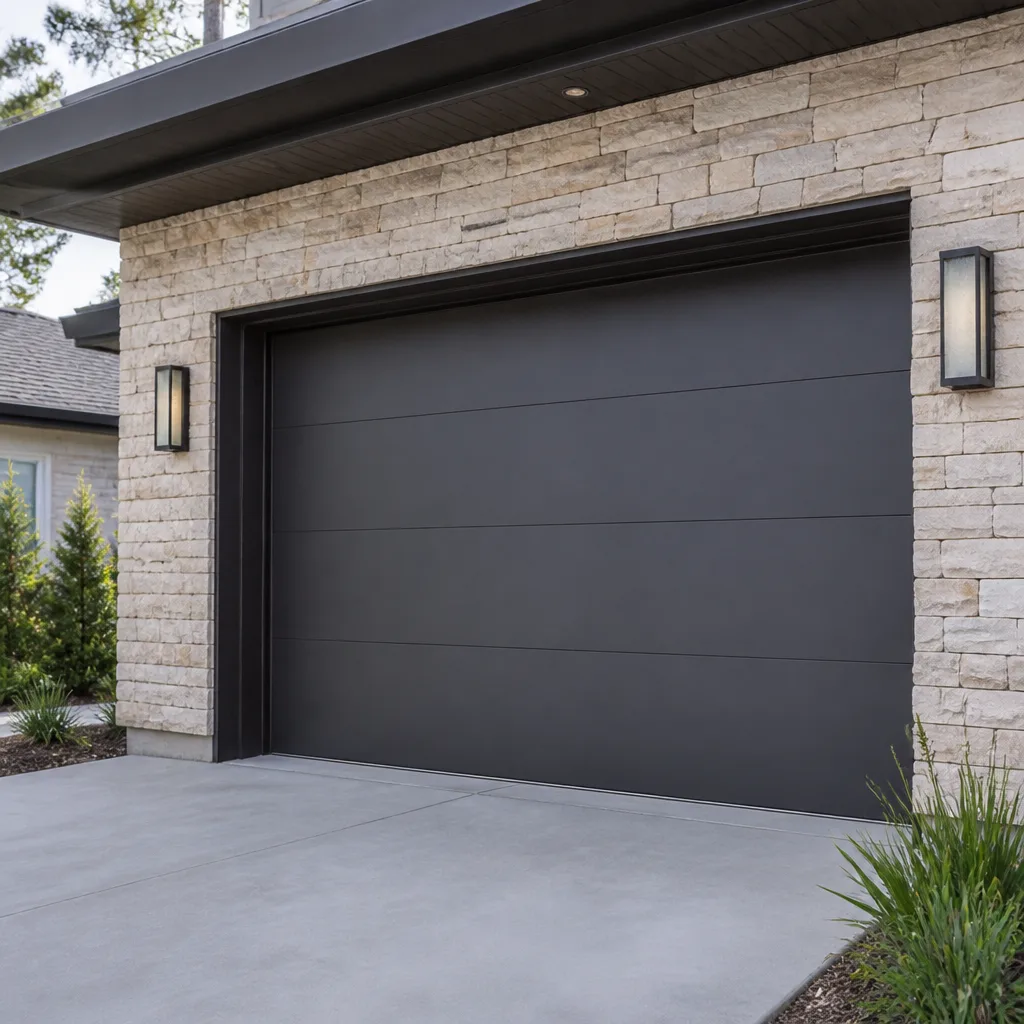 Modern flush
 Full-view glass
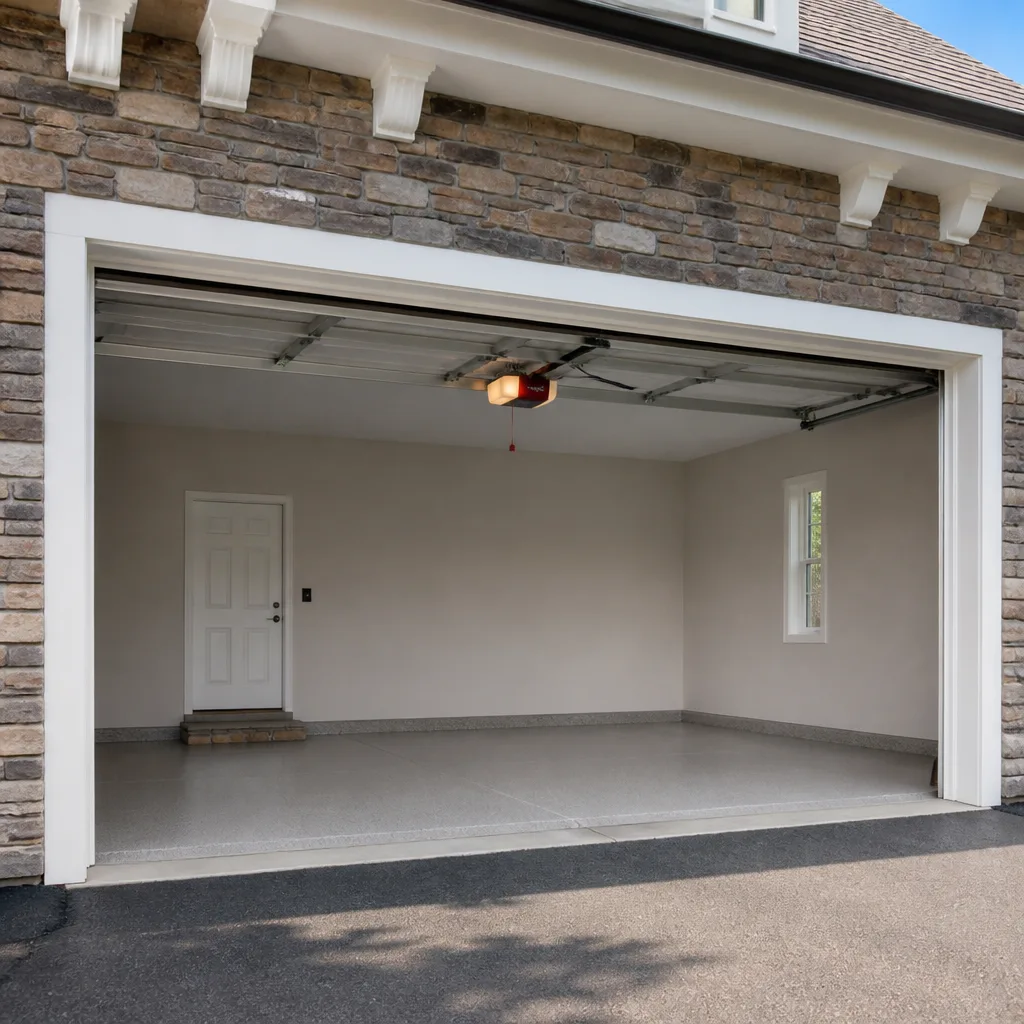 LiftMaster openers
 Chamberlain openers
Full 25-point door and opener safety check with every visit - springs, cables, rollers, tracks, and your LiftMaster or Chamberlain opener included
You get a price before we start. It does not change when the pro arrives.
Get your free estimateGarage Door Repair Maintenance Schedule: What to Do and When
The most expensive garage door repair we see every spring is one that a 10-minute January inspection would have caught. A torsion spring rarely snaps without warning. It tells you first, usually through a door that feels a little heavier, or a balance test that no longer holds. Most homeowners miss the message because they’re looking at the door as a single appliance instead of a system of springs, cables, rollers, hinges, weatherstrip and an opener, each wearing at its own rate.
This guide breaks garage door maintenance into a schedule built around what New Bedford weather actually does to the hardware: nor’easters, freeze-thaw cycles, humid summers, then cold again. You’ll get the tasks, the timing and the lubrication map. If reading this raises a question about your own door, call (855) 360-9057. We answer 24/7.
Quick Answer
Check your garage door once a month (a 60-second balance test and a walk-around), lubricate the moving parts twice a year, inspect weatherstripping and hardware before winter and again in spring, and have a technician verify spring tension after each freeze-thaw season. Log what you find, and the log becomes more useful than any single inspection.
Styles & brands we work with
- Raised-panel steel
- Carriage house
- Modern flush
- Full-view glass
- LiftMaster openers
- Chamberlain openers
Table of Contents
- Why a Schedule Beats a Checklist
- The 60-Second Monthly Balance Test
- The Seasonal Calendar for New Bedford
- The Lubrication Map: What Gets What
- Opener Maintenance by Drive Type
- What to Log After Every Inspection
- What You Should Never Touch Yourself
- Common Mistakes to Avoid
- When to Call a Professional
- Frequently Asked Questions
Why a Schedule Beats a Checklist
A checklist treats the garage door as a stack of unrelated parts. A schedule treats it as one machine, because that’s what it is. The spring, the cables, the rollers and the opener all take turns being the weakest link, and which one fails first depends heavily on the season. In New Bedford, the same door can feel perfectly balanced in October and stiff in February, and the reason is usually temperature, not a failed part.
The value of timing your checks to the season is that you catch wear at the moment it accelerates. Rollers that roll freely in June may grind in January. Weatherstripping that seals tightly in March may stiffen and crack by December. If you only inspect once a year, you’re sampling the system at one point and guessing at the rest.
We build our inspection routine around four seasons because each one stresses different hardware. The door, the opener and the hardware are one system, so a schedule that treats them together catches problems a parts-only routine misses. We’ve watched a stiff hinge lead homeowners toward a premature opener replacement simply because nobody looked at the hinge first.
Here’s the practical contrast:
- An annual checklist gives you a snapshot: today the door works or it doesn’t.
- A seasonal schedule gives you a trend: the door has gotten harder to lift across three winters, so the spring is losing tension.
A trend is what turns a $300 repair into a costly emergency. If your current door was installed by a brand we know well, like Clopay, Amarr or Wayne Dalton, our technicians can tell you exactly where that particular model tends to wear first.
The 60-Second Monthly Balance Test
The monthly balance test tells you whether your springs are still doing their job. You don’t need tools, and you don’t need to touch the springs themselves. You only lift the door by hand with the opener disengaged, and you listen to what it tells you.
- Disengage the opener. Pull the release handle so the door is no longer attached to the drive.
- Lift the door to about waist height. Use one steady pull, no yanking.
- Let go. A balanced door stays roughly where you put it. A door that drops or rises on its own is out of balance.
- Re-engage the opener by running the door until the carriage clicks back in.
Balance is the single best early signal that a spring is losing tension. Springs don’t fail on a random schedule; they lose tension gradually as they cycle, and a door that just started feeling heavier is a door telling you to look. Catching it at that stage means we can plan a spring replacement on your terms instead of handling it as an emergency when it finally fails.
Do this test once a month, on the same day each month so you don’t forget. September is the highest-value test in New Bedford, because it tells you whether the door is ready for cold weather before the season arrives. If it drops or rises on its own, stop testing and call (855) 360-9057. We answer 24/7.
The Seasonal Calendar for New Bedford
This is the heart of the schedule: the seasonal checkpoints timed to what each New Bedford season actually does to a garage door.
Pre-winter (late fall)
Before the nor’easters and the first hard freeze, you’re looking at weatherstripping and door seals. Cold air and wind-driven rain find every gap, and a stiff or cracked bottom seal lets both in. Check the bottom rubber for cracks, check the side and top seals for gaps, and check that the threshold sits flush. In New Bedford, the pre-winter check is best done in late fall, once the nights stay cold.
Winter (and the freeze-thaw cycle)
The freeze-thaw cycle is a New Bedford routine: moisture gets in at a joint, freezes, expands, thaws and repeats. On a garage door that means you should listen for new rattles and check for stiff rollers. If the door sounds louder in January than it did in October, that’s not normal aging; it’s the season asking for attention. Keep the tracks clean of grit and any road salt tracked in from the driveway, since grit accelerates roller wear.
Post-winter (early spring)
Once the ground thaws and the freeze-thaw cycle ends, verify the spring tension with the monthly balance test. Spring hardware works hardest during the cold, so the post-winter check is the one to take seriously. Look for rust creeping onto the torsion bar, hinges or track, and check the bottom seal for winter wear.
Summer
Humidity and heat are easy on the door but hard on the opener motor. Clean the track, re-torque anything that rattled in winter, and lubricate (covered below). If you have an opener from a brand like Genie or LiftMaster, summer is a good time to schedule the annual opener check without the pressure of a cold snap.
The Lubrication Map: What Gets What
Lubrication is where most maintenance routines go wrong, because “lube the door” isn’t a task. It’s five tasks that use different products on different parts. The wrong product doesn’t just waste money; it can create problems that didn’t exist before.
The classic mistake is WD-40 on rollers. WD-40 is a light penetrant and water displacer, not a lubricant. Applied to rollers, it thins out any existing grease, then dries, and the rollers start sticking and squealing. That stickiness gets blamed on the rollers being “worn out,” so a perfectly good set gets replaced. Skip it, and use a proper roller-friendly grease instead.
Here’s the map we use:
- Rollers: a small amount of white lithium grease on the stems and bearings, wiped clean of grit before applying.
- Hinges: lithium grease at the pivot points, then work the door up and down to distribute it.
- Track: none. Tracks should be clean and dry. Grease on the track holds grit and grinds it into the rollers.
- Torsion spring: nothing. Springs shouldn’t be greased or oiled; leave them alone.
- Opener rail and chain (if you have one): a light machine oil or the manufacturer’s chain lubricant, applied sparingly.
A few drops or a small smear on each part is enough. Excess lube catches dirt and makes things worse. Do this twice a year, at the pre-winter and summer checkpoints, and the door will run quieter through every season.
Opener Maintenance by Drive Type
The opener gets a fraction of the attention the door gets, but it’s working just as hard, and it has a motor that will eventually wear out. The maintenance steps vary by drive type, and skipping them is the most common reason an opener dies early.
Belt drive
Belt drives are the quietest and need the least attention, but the belt is what fails when something goes. Inspect the belt for fraying or cracking, check its tension and make sure the rail isn’t wobbling. If the door is heavy, a belt drive’s motor works overtime, so the balance test protects the belt too.
Chain drive
Chains need lubrication and are the noisiest drive type when ignored. Apply the manufacturer’s chain lubricant at the summer and pre-winter checkpoints. Check for slack in the chain and listen for grinding that wasn’t there last month. On a LiftMaster or Chamberlain chain drive, a little maintenance goes a long way.
Screw drive
Screw drives are low-maintenance but sensitive to grit and dry contact. Wipe the screw clean, then apply a light grease, and check the rail is straight and clear. Screw drives are common on older Genie openers, and they run best when the screw stays clean and lightly lubed.
All openers
On every drive type, test the auto-reverse function once a month: block the photo-eye sensor beam with an object and confirm the door reverses when it senses an obstruction. This is a safety feature, not a convenience. It’s also the one check that tells you the opener’s safety systems are working, so don’t skip it.
What to Log After Every Inspection
The log is the least glamorous part of the schedule and the most valuable. A technician can’t see a trend from one visit, but they can see it from a log. If you write down what you find after each inspection, the next visit tells a story: the door got heavier, the rollers got louder, the seal cracked earlier this year than last.
Keep it short and simple. After each inspection, note:
- Date and season – “Fall, before first freeze.”
- Balance test result – held, dropped, or rose.
- Noises – “Squeal from left roller” or “Rattle at the top panel.”
- Sight issues – rust spots, cracked seal, loose hinges.
- What you did – “Greased rollers” or “Nothing.”
Recording what you did matters as much as what you found, because it prevents double-lubrication and helps us see whether a task fixed a problem or didn’t. A hand-written page on the inside of the garage door works as well as a notes app. A focused specialist on a uniform basis means the log isn’t just surviving in a drawer; it’s making future diagnoses faster and cheaper for you.
If your door is from one of the makes we work with most, like Clopay, Raynor or Wayne Dalton, bring your log to the visit. We’ll read it alongside the hardware and save ourselves from starting cold.
What You Should Never Touch Yourself
Some parts of a garage door you clean and inspect. Others you leave to a trained technician, because they can cause serious injury in a fraction of a second.
Torsion springs and the cables that run with them store enormous energy. A torsion spring under load can release that energy when it’s adjusted, loosened or removed without the right tools, and there’s no safe way to learn on the job. Never try to adjust, unwind, replace or “test” a torsion spring by hand, and never disconnect or re-tension a cable. If the spring is suspect, or the balance test fails, stop using the door and call a professional.
The same goes for electrical parts of an opener. If you’re replacing a wall switch or troubleshooting a motor, shut off the power at the breaker or leave it to a technician. And if the door has come off its tracks, don’t try to force it back; the door can swing, drop or pinch, and the risk is real.
That line between “I can do this” and “stop” is the reason we keep our training focused exclusively on garage doors. Call (855) 360-9057 for anything that crosses that line. We answer 24/7. Fast dispatch from 7am to 7pm, Sunday through Friday.
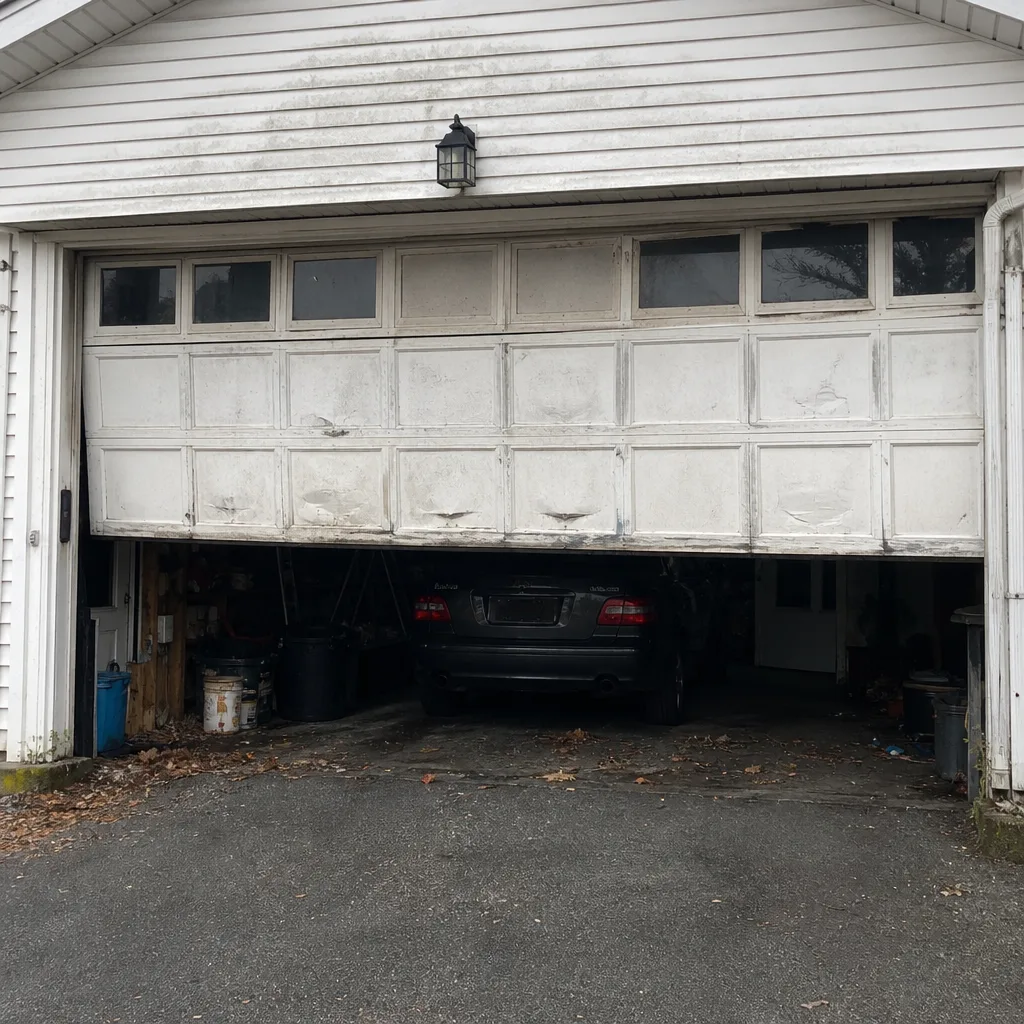
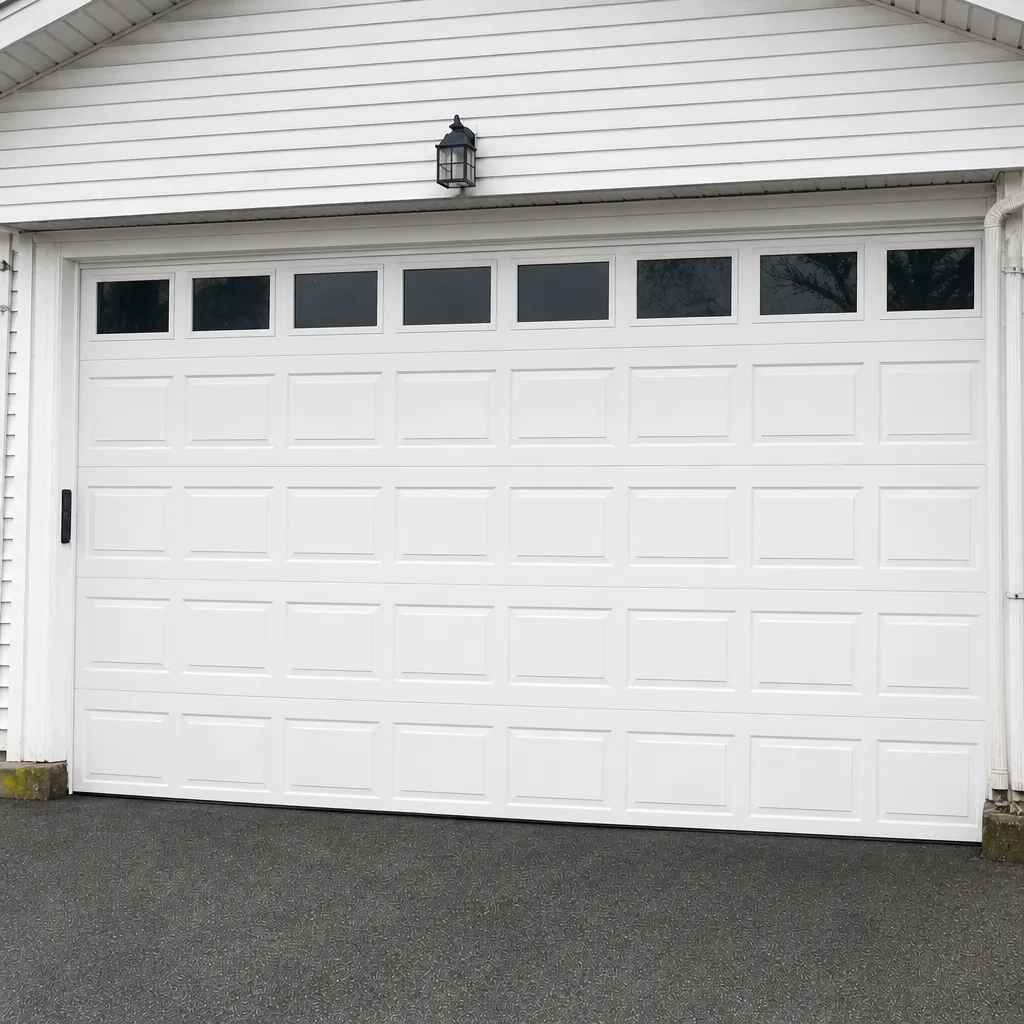
See the difference
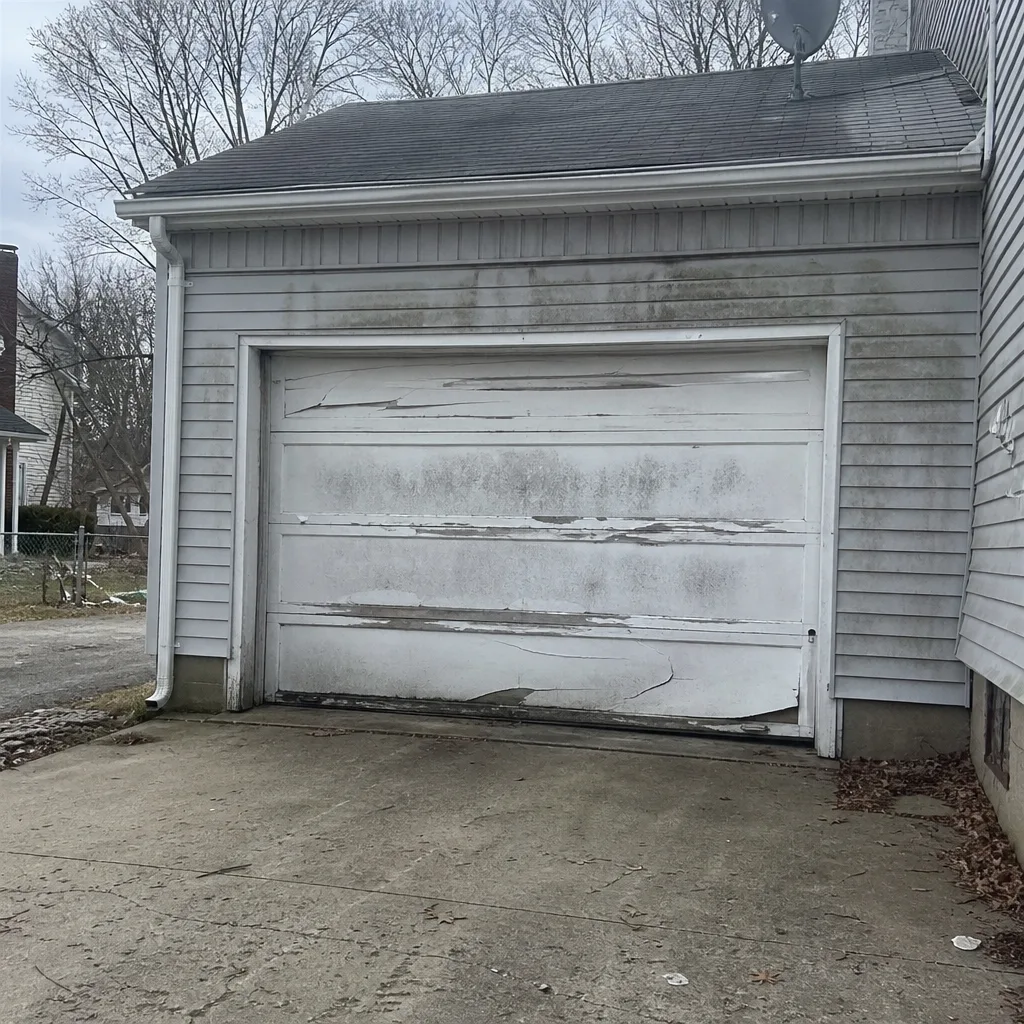 Before
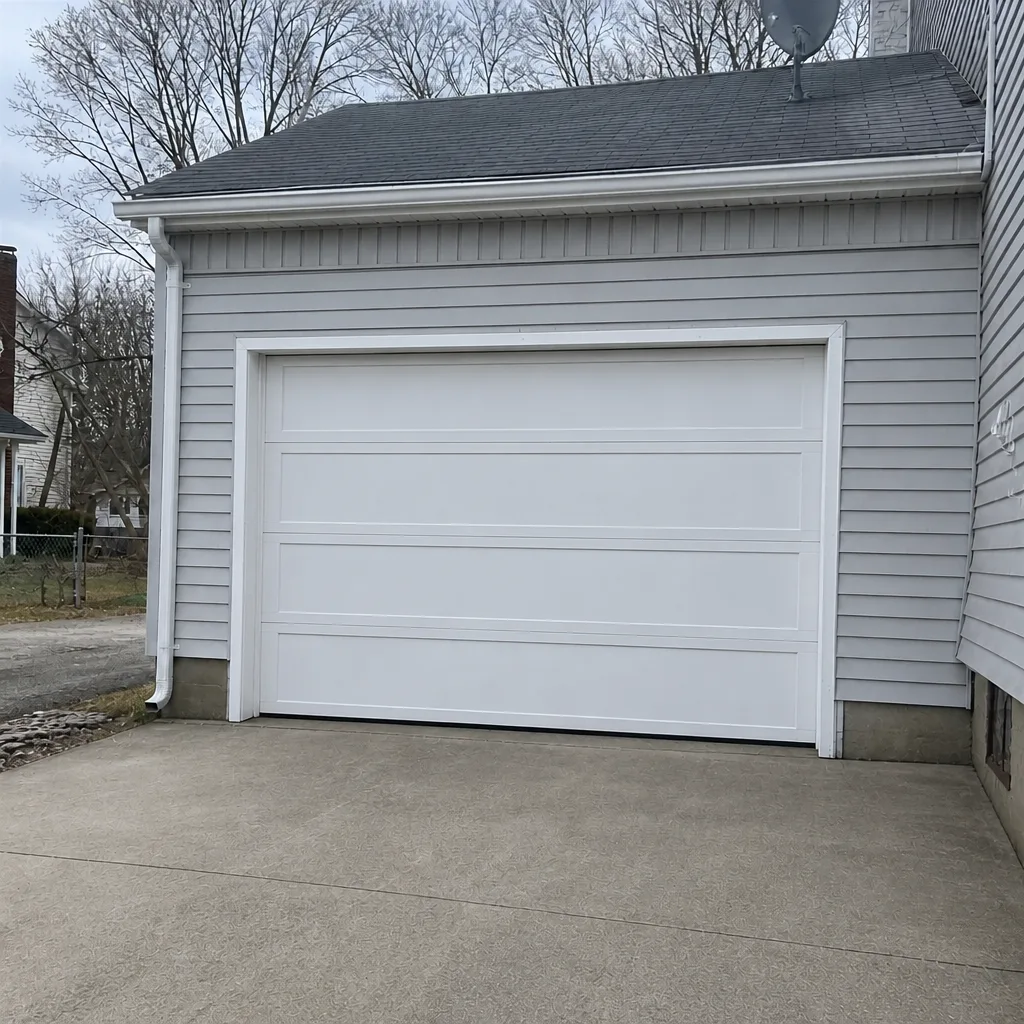 After
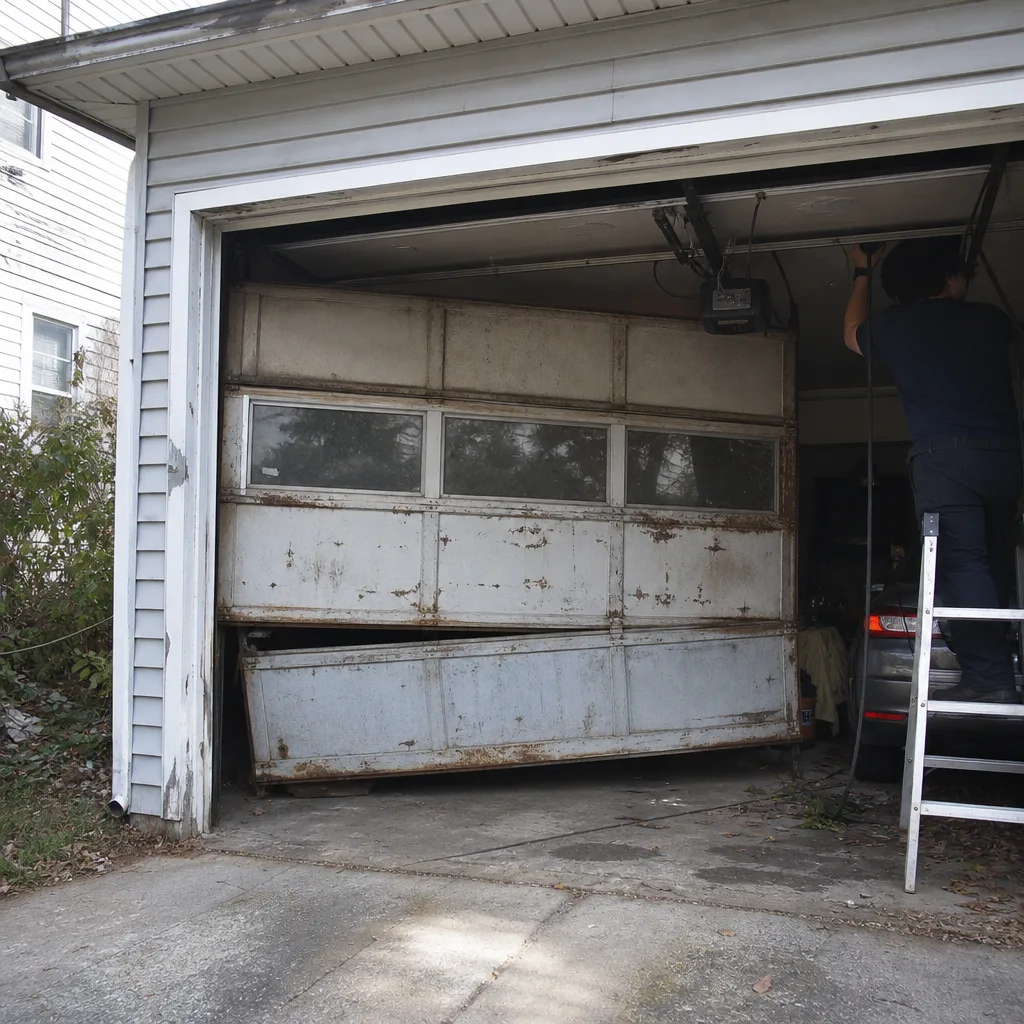 Before
 After
 Before
 After
Common Mistakes to Avoid
- Spraying WD-40 on rollers. It’s a penetrant, not a lubricant, and it leaves a thin film that makes rollers stick. Use white lithium grease and clean the grit off first.
- Checking the door only in warm weather. A New Bedford door that balances in July can drag in January. The cold is when a tired spring shows you it’s tired.
- Skipping the pre-winter weatherstrip check. A cracked bottom seal lets in wind-driven rain and cold air, and weatherstripping is far cheaper to replace in the fall than to deal with after a nor’easter.
- Never touching the opener. Openers need lubrication and safety tests. Run the auto-reverse test monthly, or the feature may not work when it matters.
- Replacing parts without a diagnosis. A noisy door is more often a dry hinge or a loose bolt than a worn panel. Grease and re-torque before assuming the door is failing.
- Replacing the door because the opener misbehaves. A misadjusted safety sensor looks exactly like a failing motor from the driver’s seat. Diagnose before you spend.
- Ignoring the freeze-thaw rust around the tracks and hinges. Moisture and road salt from the driveway drive rust, so wipe the tracks clean and check the hinge plates each spring.
When to Call a Professional
Some jobs are maintenance, some are repairs. The line between them is safety, and it’s not vague: anything that involves a torsion spring, a cable, or an opener’s electrical components belongs to a trained technician. A door that failed the balance test, a spring that lost tension, a door that came off its tracks, an opener that reverses randomly: those are calls.
The other call is the one most homeowners delay: when the balance test fails twice in a row. That pattern usually means the spring is losing tension for good, and scheduling it beats waiting for it to snap. A focused specialist with a plan is far better than a sudden failure at the worst possible moment.
For garage door repair, we offer free estimates in New Bedford. Call (855) 360-9057 for an appointment, and we’ll give you a written quote before any work starts.
Frequently Asked Questions
Once a month for a 60-second balance test and visual walk-around, twice a year for lubrication, and once a year for a professional inspection. In New Bedford, we suggest doing the spring tension check after the freeze-thaw season ends in early spring, because that’s when worn hardware is most likely to show itself.
Spraying WD-40 on the rollers. It thins out existing grease and leaves a sticky residue that makes rollers squeal, which homeowners then mistake for a worn-out set. Use white lithium grease and clean the grit off first, and rollers last far longer.
No. A torsion spring stores serious energy, and the wrong move can cause a severe injury. Don’t touch the spring, the cables or the opener’s electrical parts; those belong to a trained technician. If you’re not sure, call (855) 360-9057. We answer 24/7.
Yes, and the tasks depend on the drive type. Belt drives need a belt inspection and a stable rail, chain drives need lubrication and tension checks, and screw drives need the screw cleaned and lightly greased. Test the auto-reverse function on any drive once a month. We handle garage door opener repair for all common drive types, so you don’t need to guess which one is yours.
It’s common, not mandatory. Cold stiffens the rollers and changes the tension on the hardware, so it can run louder in winter, and a fresh coat of the right lubricant usually quiets it. If the noise persists after lubrication, get a technician to look at it; stiff hinges or worn rollers are beatable with the right repair.
Stop using the door until it’s checked. The auto-reverse feature is the opener’s main safety system, and a failed sensor or a misaligned photo-eye is easy to misdiagnose as a bad motor. Call (855) 360-9057 for a free estimate, and we’ll look at the sensor, the safety function and the opener together so you get an honest answer on what’s actually wrong.
The Bottom Line
Good garage door maintenance in New Bedford is a schedule, not a spring cleaning. Test the balance monthly and write down what you find. Lubricate with the right product on the right part, twice a year, and keep WD-40 off your rollers. Check the weatherstripping before winter and verify spring tension after the thaw. Leave the springs, cables and opener wiring to a technician. Everything you do monthly and seasonally builds the log that turns a mystery into a diagnosis. If you’re overdue or unsure, call (855) 360-9057. We answer 24/7. Fast dispatch from 7am to 7pm, Sunday through Friday, and estimates are free.
Written by the team at Glacier Garage Door Repair.