
Last updated November 15, 2026
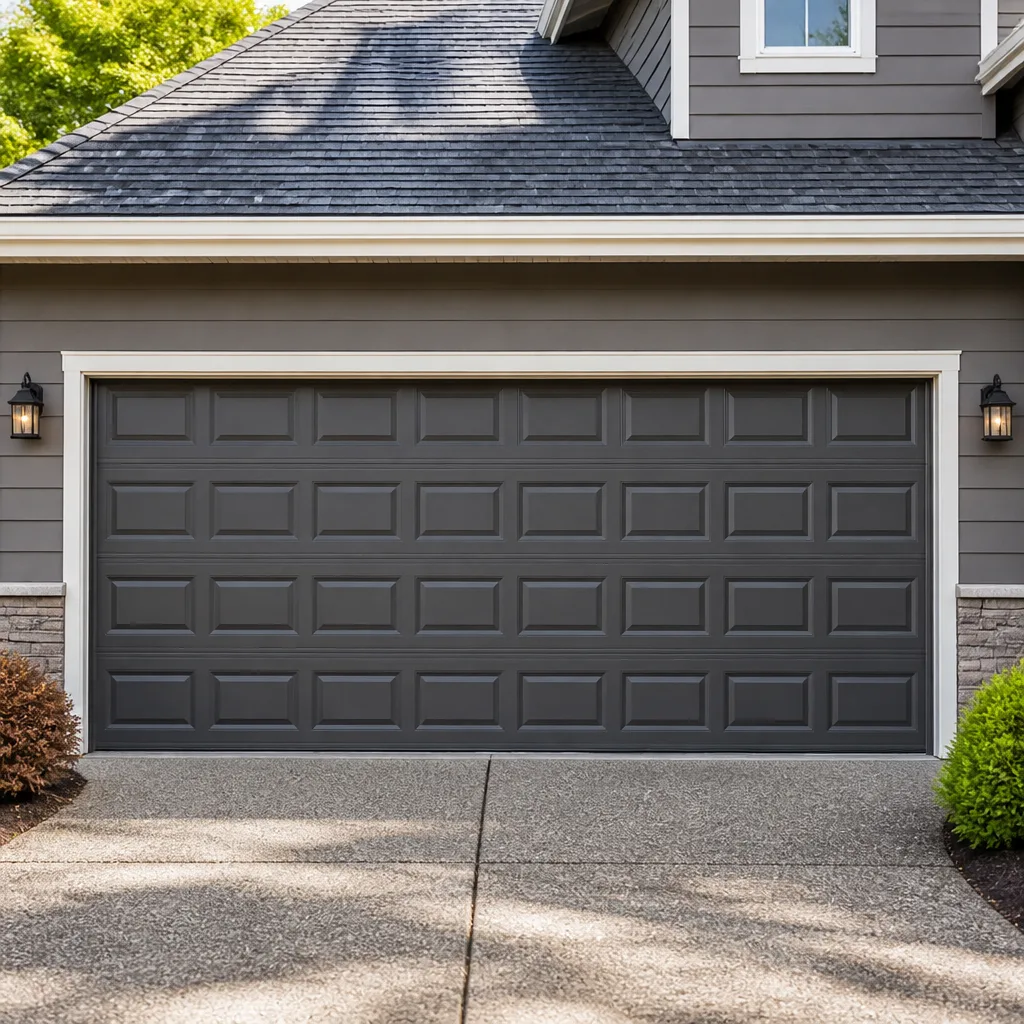 Raised-panel steel
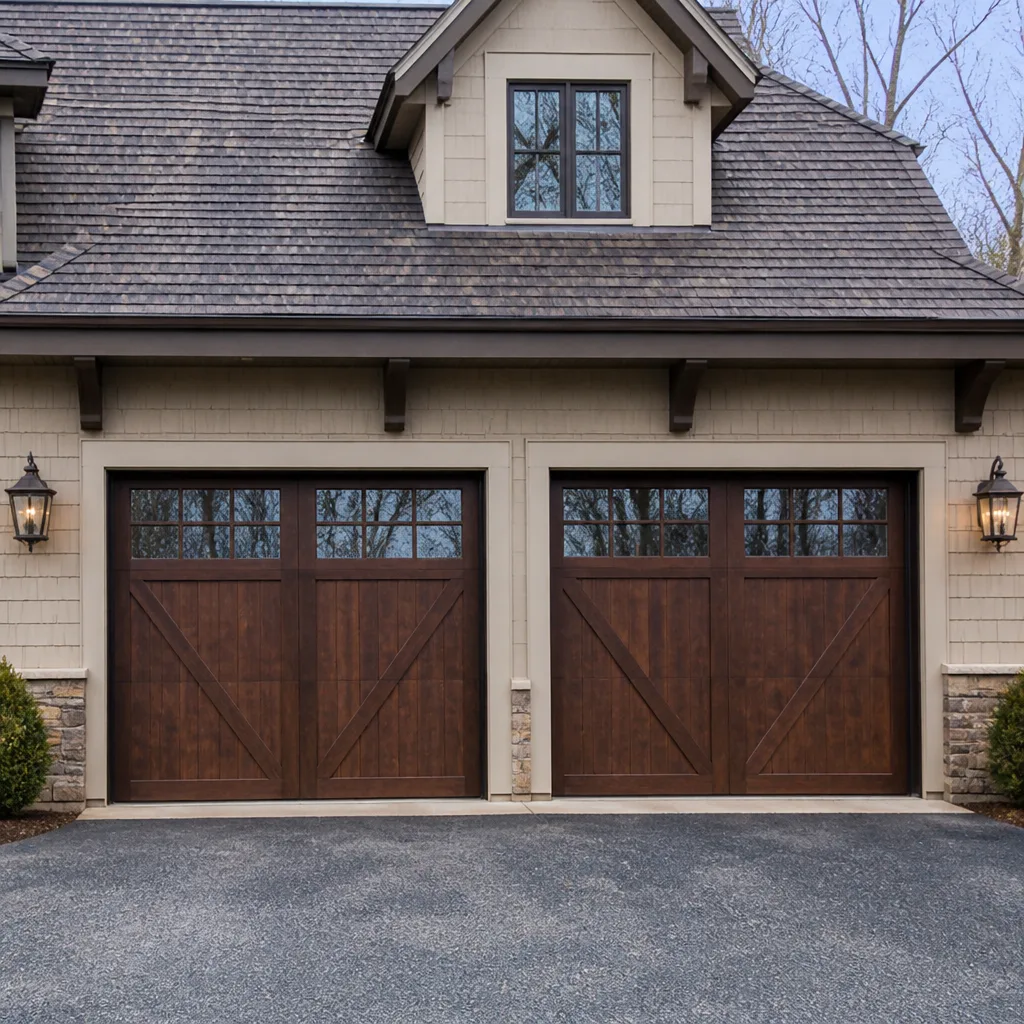 Carriage house
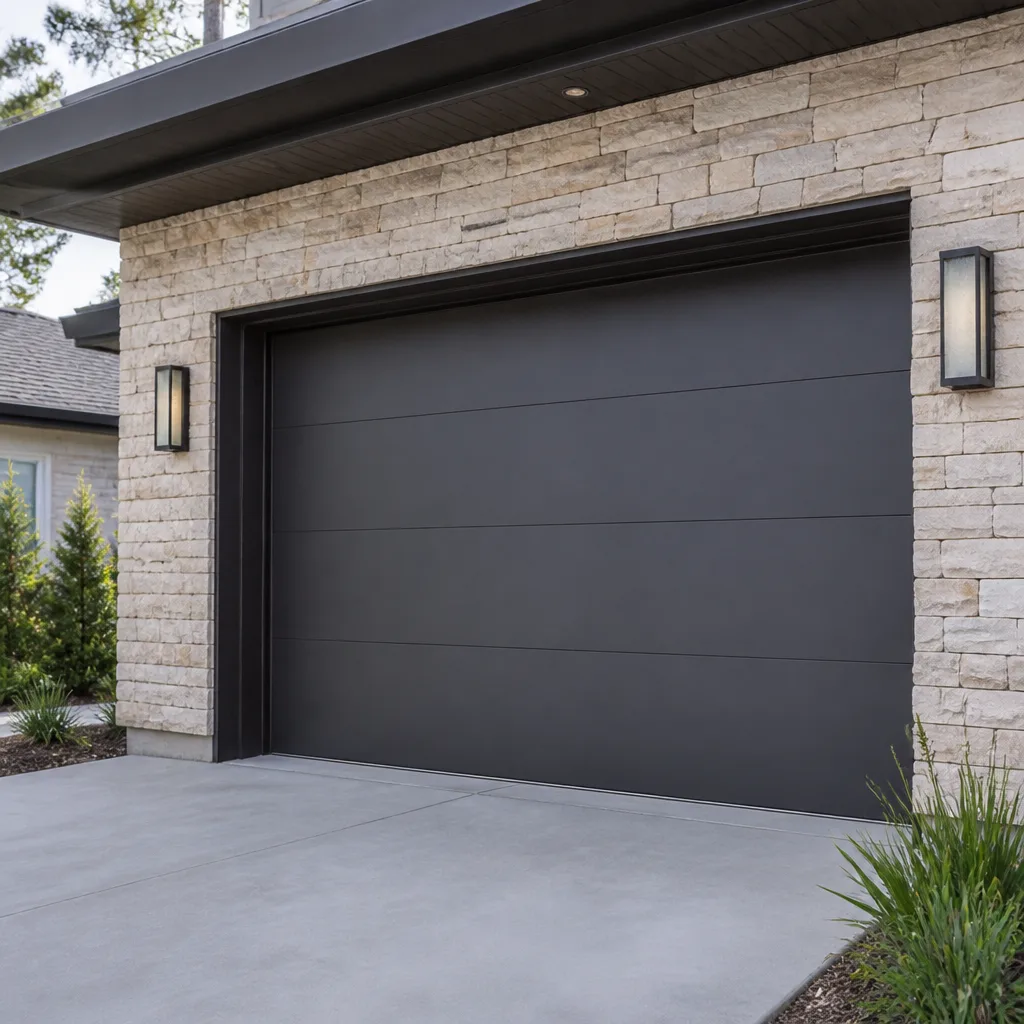 Modern flush
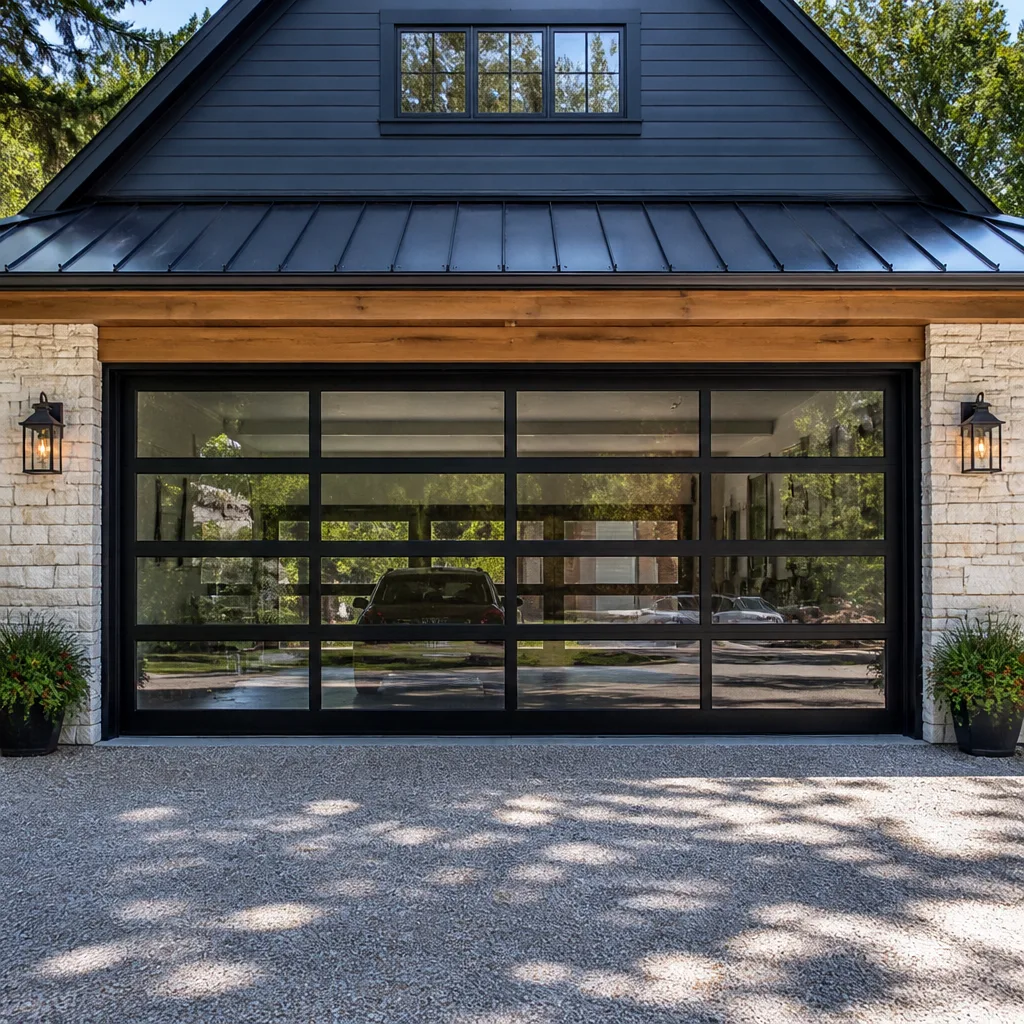 Full-view glass
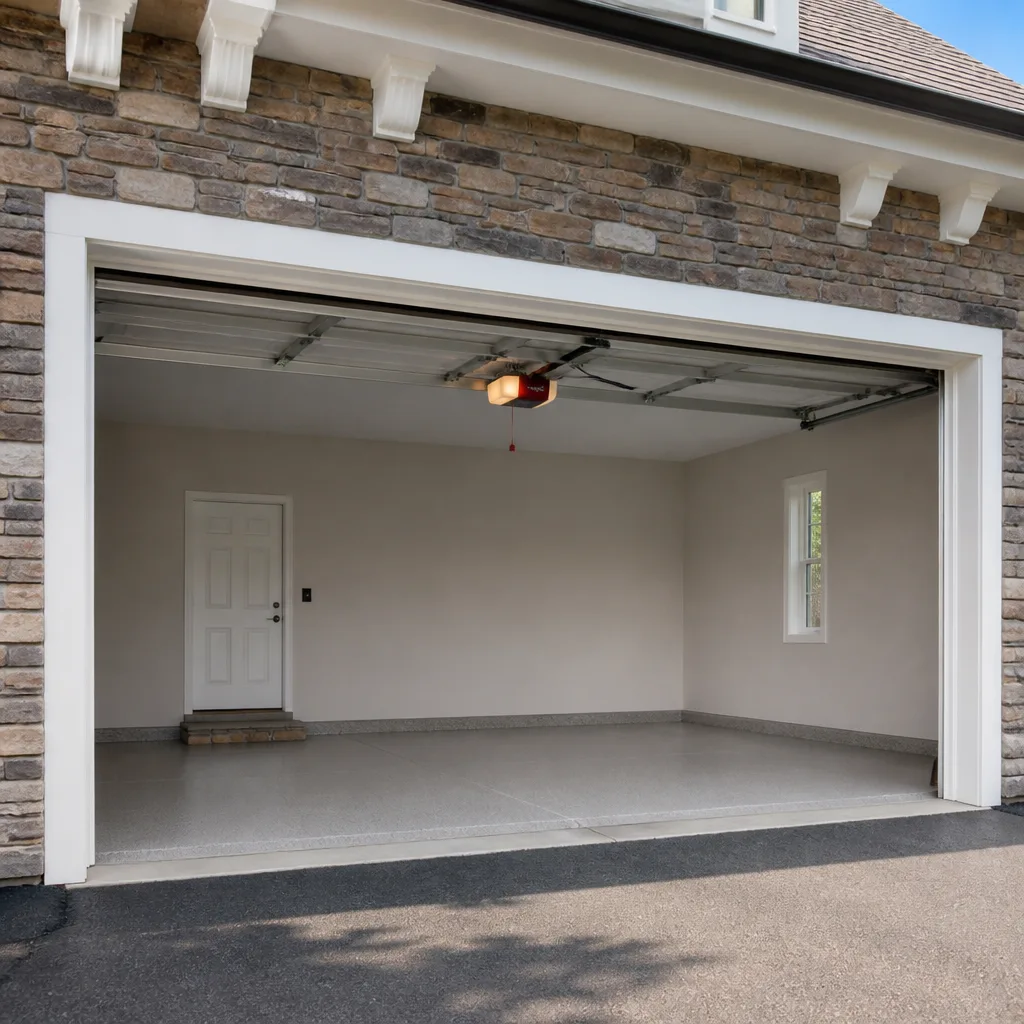 LiftMaster openers
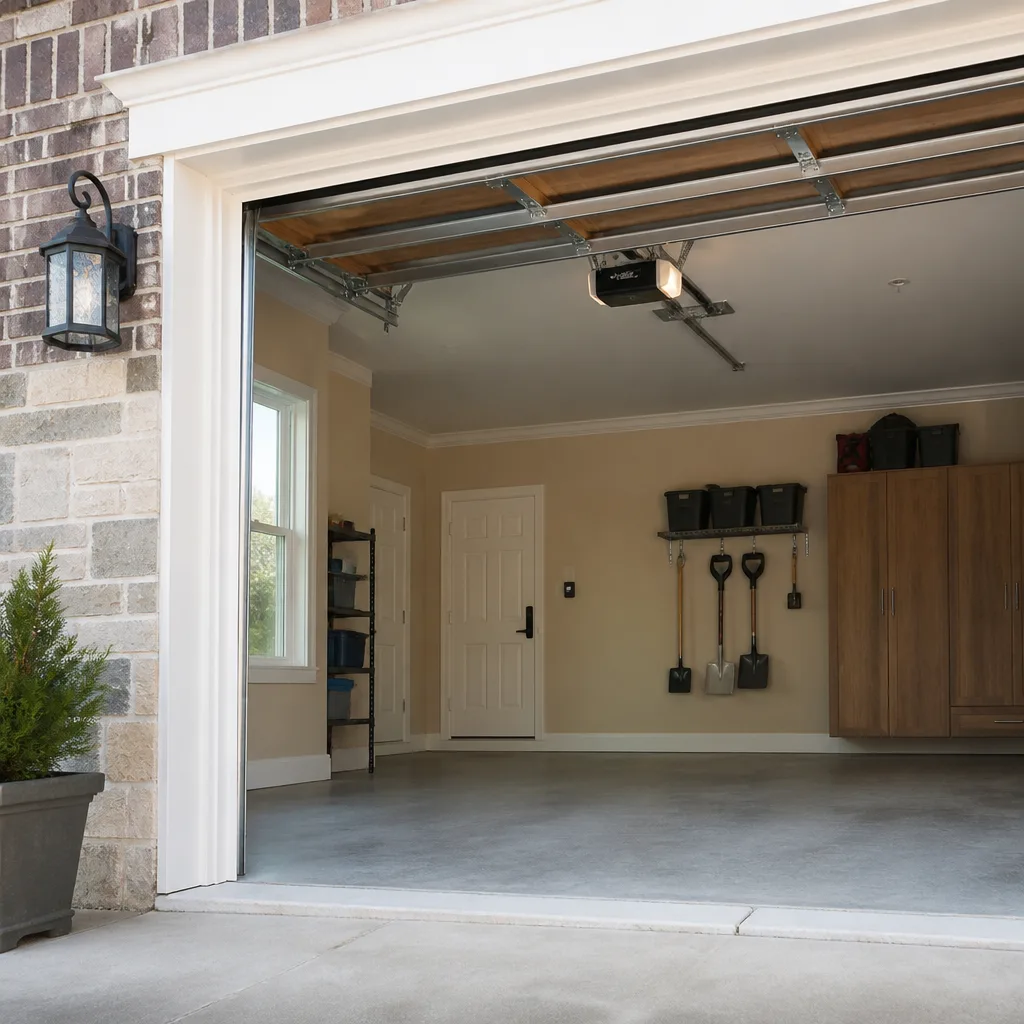 Chamberlain openers
Full 25-point door and opener safety check with every visit - springs, cables, rollers, tracks, and your LiftMaster or Chamberlain opener included
You get a price before we start. It does not change when the pro arrives.
Get your free estimateGarage Door Repair Maintenance Checklist for New Bedford Homeowners
Most homeowners assume the spring is the first thing to go after a hard winter. In our experience around New Bedford, it usually isn’t. The part that fails quietly is the bottom seal, and it spends all season letting meltwater and slush creep under the door until the bottom panel starts to swell. By the time the door looks wrong, the cheap fix has turned into an expensive one. This guide walks you through a maintenance calendar built around the weather New Bedford actually gets, the parts that take the most abuse, the tests you can run yourself with clear pass-fail marks, and a simple framework for deciding what to watch and what to call about.
Quick Answer
A garage door maintenance checklist for New Bedford should follow the local weather calendar: clear and lubricate in early spring after the freeze-thaw season, check balance and reversal in summer, tighten hardware before the fall wind and rain, and inspect seals and weatherstripping before the first hard freeze. Most repair calls we handle come from parts that were never checked, not parts that wore out overnight. Fifteen minutes of inspection a few times a year catches the majority of them.
Styles & brands we work with
- Raised-panel steel
- Carriage house
- Modern flush
- Full-view glass
- LiftMaster openers
- Chamberlain openers
Table of Contents
- Why a New Bedford Calendar Beats a National Checklist
- The Month-by-Month Task List
- The Five Components Homeowners Almost Never Inspect
- How to Test Balance, Reversal, and Force Settings Yourself
- What Proper Lubrication Actually Means
- Triage: Watch-and-Wait vs. Fix-Now vs. Call a Specialist
- Working With the Brand Already in Your Garage
- Common Mistakes to Avoid
Why a New Bedford Calendar Beats a National Checklist
Generic maintenance guides sort tasks into “spring” and “fall” because they’re written for a national audience. That works fine in a place with mild seasons. It doesn’t work well in New Bedford, where the year splits into distinct phases that stress a garage door in different ways. The freeze-thaw cycle is the big one. Water works into small gaps, freezes, expands, and widens those gaps a little more each time. The hardware on your door goes through dozens of these cycles between December and March, and the fasteners that hold the track and hinges in place can work loose over a single winter.
Then comes the thaw, when the ground is saturated and drainage is slow. That’s when bottom seals matter most, because a door sitting on wet pavement pulls moisture up into the bottom panel by capillary action. New Bedford’s housing stock includes a lot of older homes with garages that were built long before anyone thought about drainage slope, so water pooling at the door line is common.
Summer brings its own issues: heat expansion in the door panels, track movement, and the kind of humidity that makes untreated metal parts sticky. Fall is the tightening season, the last chance to secure everything before the cold arrives again. When you schedule maintenance to match those phases, you’re addressing the problem while it’s still small. A national template that tells you to “lubricate in spring” misses the fact that in New Bedford, the most important lubrication happens right after the last freeze, when winter grit has worked its way into every moving joint.
The climate here isn’t extreme, but it’s relentless in a specific way. Repeated mild freezes and thaws do more wear to a garage door than a single deep cold snap. That’s why our recommendations lean toward frequent light checks rather than one big annual service.
The Month-by-Month Task List
Here’s the calendar we’d hand a New Bedford homeowner. It’s built around when each part of the system is under the most stress, not an arbitrary spring-and-fall schedule.
January through March: The Cold Months
- Clear snow and ice from the door’s path before opening it. A door that forces against ice puts strain on the opener’s drive mechanism and can bend the bottom panel.
- Listen for changes in sound. A door that groans or squeals in cold weather is telling you a joint has dried out.
- Check the bottom seal for cracks and gaps every few weeks. This is the part that fails silently and costs the most to fix later.
- Don’t force a frozen door. If the door won’t move, stop the opener and clear the ice first.
April and May: The Thaw and Clean-Up
- Wash the door surface and clear grit from the tracks. Winter leaves a film of sand and salt-free road grime in the track channels, and that grit wears the rollers.
- Lubricate the hinges, rollers, and torsion or extension spring coils.
- Inspect the bottom panel for swelling or soft spots. This is the season when a failing seal shows its damage.
- Check the weatherstripping around the door frame; freeze-thaw cycles pull it loose.
June through August: The Heat Season
- Test the opener’s safety reversal system (steps below). Humidity and heat can affect the sensors and the force settings.
- Check that the tracks are still plumb and aligned. Heat expansion can shift them slightly.
- Look over the door panels for any warping or separation.
- Clean the photo-eye lenses on the opener; summer dust and pollen cloud them.
September and October: The Tightening Season
- Tighten all hinge and track bolts. This is the most important fall task in New Bedford, because a loose fastener going into winter will loosen further.
- Test the door balance by hand (steps below).
- Inspect the cables and springs for wear. Any visible fraying or gap in a torsion spring means a call, not a DIY fix.
- Re-check the bottom seal before the first freeze, and replace it if it’s worn.
November and December: Before the Freeze
- Do a final lubrication pass on moving parts.
- Confirm the door closes fully and seals against the floor.
- Check that any garage drainage is clear so meltwater doesn’t pool at the door line.
The Five Components Homeowners Almost Never Inspect
People check the obvious things: does the door go up and down, does the opener make a weird noise. The parts that cause the most trouble are the ones nobody looks at. These five are where we’d start.
1. The Bottom Seal and Retainer
The rubber seal at the bottom of the door and the metal retainer that holds it. This is the front line against moisture, and when it cracks, water gets into the bottom panel. In New Bedford’s humid summers and wet springs, a failing seal is the difference between a solid door and a rotting one. Run a hand along the seal and look for cracks, hard spots, and gaps where the door meets the floor.
2. The Rollers and Their Bearings
Rollers wear out quietly. Steel rollers develop flat spots; nylon rollers crack. If the door shudders as it moves, a roller is usually the cause. Check each roller by hand for wobble and by eye for flat spots or cracks in the wheel.
3. The Hinges at Each Joint
Every hinge between panels takes the flex of the door as it curves through the track. Loose or worn hinges let the panels shift, and that misalignment wears the rollers and the track. Check for loose screws and for hinge plates that have bent.
4. The Tracks and Their Mounts
The tracks don’t just guide the door, they carry its weight. Look for dents, for sections that have pulled away from the wall, and for any spot where the track isn’t parallel to the door edge. A bent track can usually be spotted by eye before it causes a jam.
5. The Cables and Drums
The cables that lift the door, and the drums they wind onto, carry enormous tension. Inspect the cables for fraying and the drums for loose set screws or worn grooves. Do not touch, adjust, or attempt to repair cables or springs yourself. These parts are under extreme tension and can cause serious injury if handled without the right tools and training. Visual inspection is where homeowner involvement stops.
How to Test Balance, Reversal, and Force Settings Yourself
These three tests are safe to run yourself and give you real pass-fail answers instead of a vague “seems fine.” Do them a few times a year, and always after a season change.
The Balance Test
This tells you whether the springs are still doing their job.
- Close the door, then pull the manual release cord to disconnect the opener.
- Lift the door by hand to about halfway open and let go.
- Pass: the door stays roughly where you let go, moving no more than a few inches.
- Fail: the door slides down on its own, or shoots up. Either way, the spring tension is wrong and needs a professional.
Reconnect the opener by hand and run the door once to re-engage the carriage.
The Reversal Test
This confirms the opener will stop if something is in the doorway, which matters if children or pets use the garage.
- Open the door, then place a sturdy object like a roll of paper towels or a block of wood on the floor in the door’s path.
- Press the close button.
- Pass: the door reverses when it contacts the object, or when the safety beam is broken.
- Fail: the door keeps pressing down. Stop the door immediately and call for service.
Also test the photo-eye sensors by passing a hand through the beam while the door is closing. The door should reverse right away.
The Force Setting Check
The force setting controls how hard the opener pushes. Most openers have adjustment dials or a setting on the control panel. If the door needs a lot of force to close, or reverses when it shouldn’t, the force setting is likely out of adjustment. On LiftMaster and Chamberlain units, the adjustment is usually a set of dials on the back of the motor housing; on Genie models it may be a single dial. If you’re not sure which way to turn it, that’s the point to call a technician rather than guess. An over-adjusted force setting can cause the door to crush an obstacle instead of reversing.
What Proper Lubrication Actually Means
Lubrication is the task people most often get wrong, and the wrong product can do real damage. The short version: use a garage-door-specific lubricant on the moving metal parts, and keep WD-40 away from the door.
Here’s what to use where:
- Hinges, rollers, and track channels: a silicone-based or white lithium garage door lubricant. Apply a light coating, not a heavy film.
- Torsion and extension springs: a garage-door spring lubricant or a light oil, applied sparingly. Lubricating springs reduces noise and wear.
- Bottom seal and weatherstripping: a silicone spray to keep the rubber from drying out and cracking.
- Opener chain or screw drive: use the lubricant the manufacturer specifies, usually a light chain oil or the manufacturer’s own product.
Now the parts to avoid. Standard WD-40 is a solvent and water displacer, not a lubricant, and it will strip the existing grease from hinges and rollers and leave them drier than before. It also attracts dust, which then turns into grit. Never spray standard WD-40 into your tracks or on your rollers. The same goes for cooking oil, motor oil, or anything thick and sticky, which catches grit and gums up in cold weather. In a New Bedford winter, a lubricant that thickens below freezing can actually make the door harder to move.
Apply lubricant two to four times a year, and always after you’ve cleaned the tracks. A clean, lightly lubricated system runs quieter and lasts longer.
Triage: Watch-and-Wait vs. Fix-Now vs. Call a Specialist
Not every finding needs a call today. Some things you can note and keep an eye on. Others should be handled before they get worse. And some are a genuine safety issue that means stop using the door. Here’s how we sort them.
Watch-and-Wait
- A little squeaking that goes away after lubrication.
- Minor cosmetic wear or faded paint.
- A slightly sticky roller that still turns freely.
- Fraying weatherstripping that still seals against the frame.
These are normal wear items. Note them, check them again at your next scheduled inspection, and plan to address them when they get worse.
Fix-Now (Before It Gets Worse)
- A bottom seal with cracks or gaps that lets moisture in.
- Loose track bolts or hinges.
- A door that shudders or jerks during operation.
- A photo-eye or reversal system that fails the test.
- A roller with a flat spot or a cracked wheel.
These are things a technician can fix in a single visit, and left alone they’ll turn into bigger problems. The bottom seal is the best example. Replacing a worn seal is a small job; fixing a warped bottom panel is not.
Call a Specialist Now (Stop Using the Door)
- Any visible gap, fraying, or damage to a torsion spring, extension spring, or cable.
- A door that falls or drops when you let go during the balance test.
- A door that won’t reverse when it contacts an obstacle.
- A bent or detached track.
- A door that’s come off its track or is hanging unevenly.
These are the cases where the parts involved are under extreme tension. Springs and cables can cause serious injury, so a trained professional needs to handle them. If you’re seeing any of these signs in New Bedford, that’s the point to stop using the door and get a professional out to look.
Working With the Brand Already in Your Garage
One of the practical problems with maintenance is that different brands have different service points, adjustment dials, and safety settings. A generic “check your opener” instruction doesn’t help much if you don’t know that your LiftMaster has a specific force dial setup, or that your Genie model reverses a certain way. Knowing the brand makes the checklist more useful.
We work on the brand already in your garage, which is why our technicians are factory-familiar with the systems that actually show up in most driveways. That includes LiftMaster, Chamberlain, Genie, Clopay, Amarr, Wayne Dalton, Craftsman, and Raynor. Whether the door is a Clopay panel with a Raynor track assembly or a LiftMaster opener on a Wayne Dalton door, the checklist principles are the same, but the adjustment points and part numbers aren’t.
This is also why the door and the opener should be treated as one system. A door that binds puts strain on the opener, and an opener with the wrong force setting puts strain on the door. Fixing one without checking the other is how problems come back. If you’re not sure what’s installed in your garage, our Glacier Garage Door Repair team can identify the system and give you a maintenance plan that fits it.
Common Mistakes to Avoid
- Using standard WD-40 on hinges and rollers. It strips away the existing lubricant and leaves the parts drier. Use a garage-door-specific silicone or lithium lubricant.
- Ignoring the bottom seal until the bottom panel warps. In New Bedford’s wet spring and freeze season, a cracked seal is the most common path to a big repair. Check it every few weeks in winter.
- Tightening everything in the spring and forgetting it in the fall. The tighten-up before winter matters more than the one after it. Loose hardware going into a freeze cycle will loosen further.
- Forcing a frozen door or ice-blocked track. This strains the opener and can bend the bottom panel. Clear the ice first.
- Trying to fix or adjust springs or cables yourself. These parts are under extreme tension and can cause serious injury. Visual inspection is the limit of what a homeowner should do.
- Assuming a new opener will fix a door problem. If the door binds or is unbalanced, a new opener will just wear out faster. Diagnose the door first.
- Running a door with a failed reversal test. If the door won’t reverse on contact with an obstacle, stop using it until a professional looks at it.
See the difference
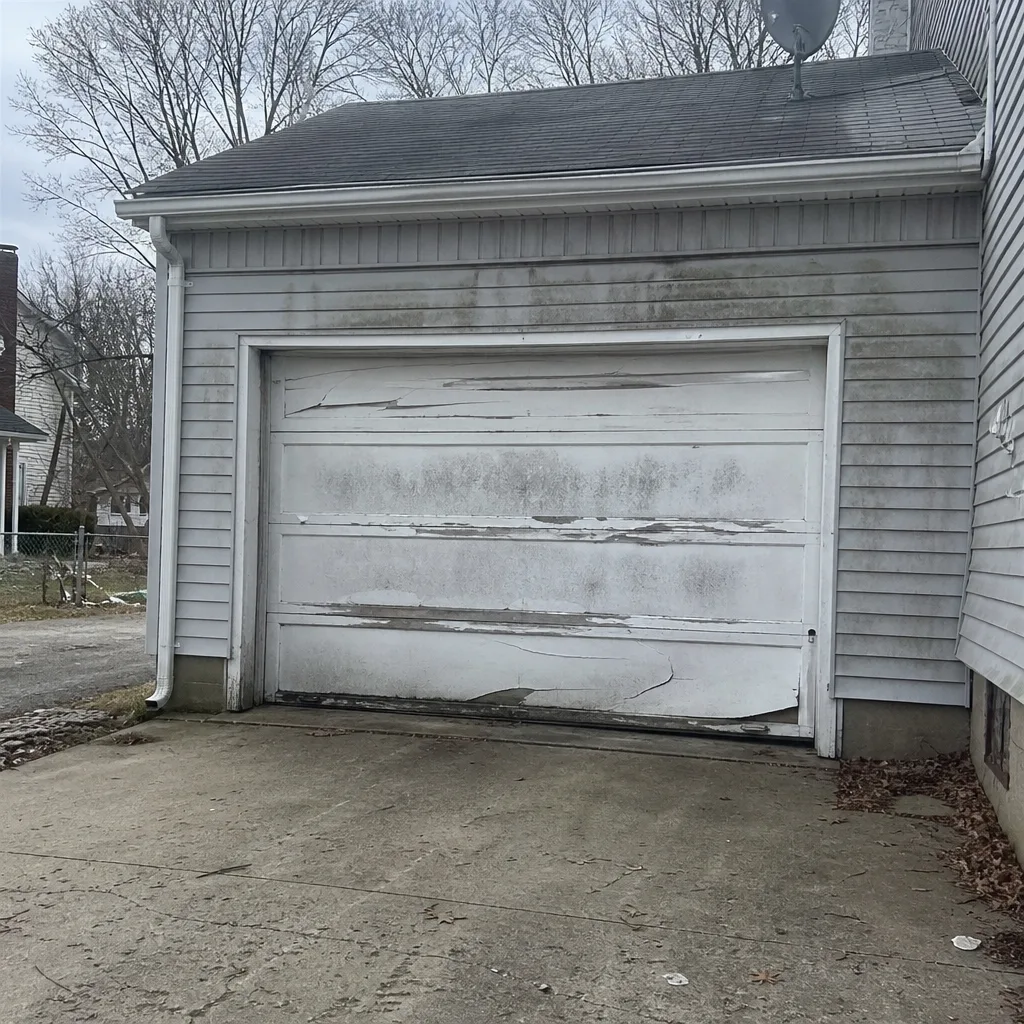 Before
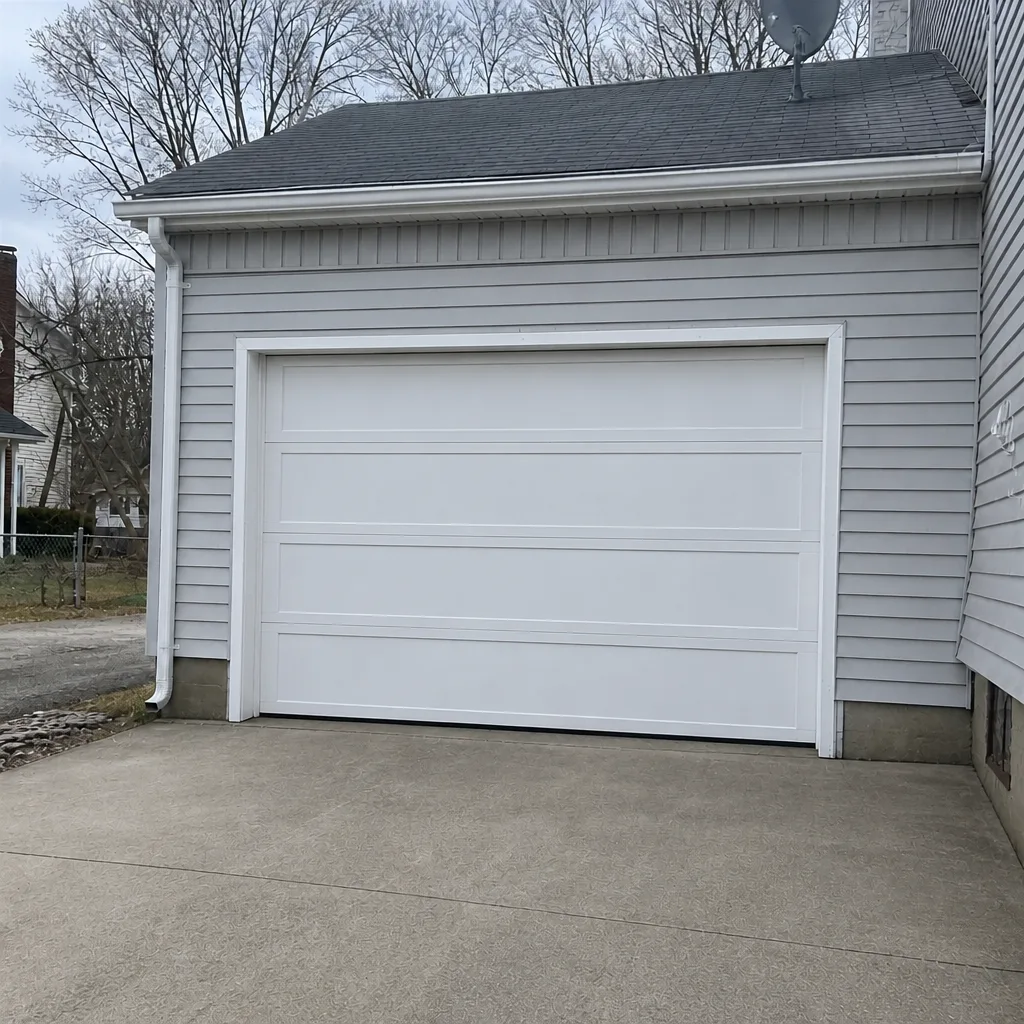 After
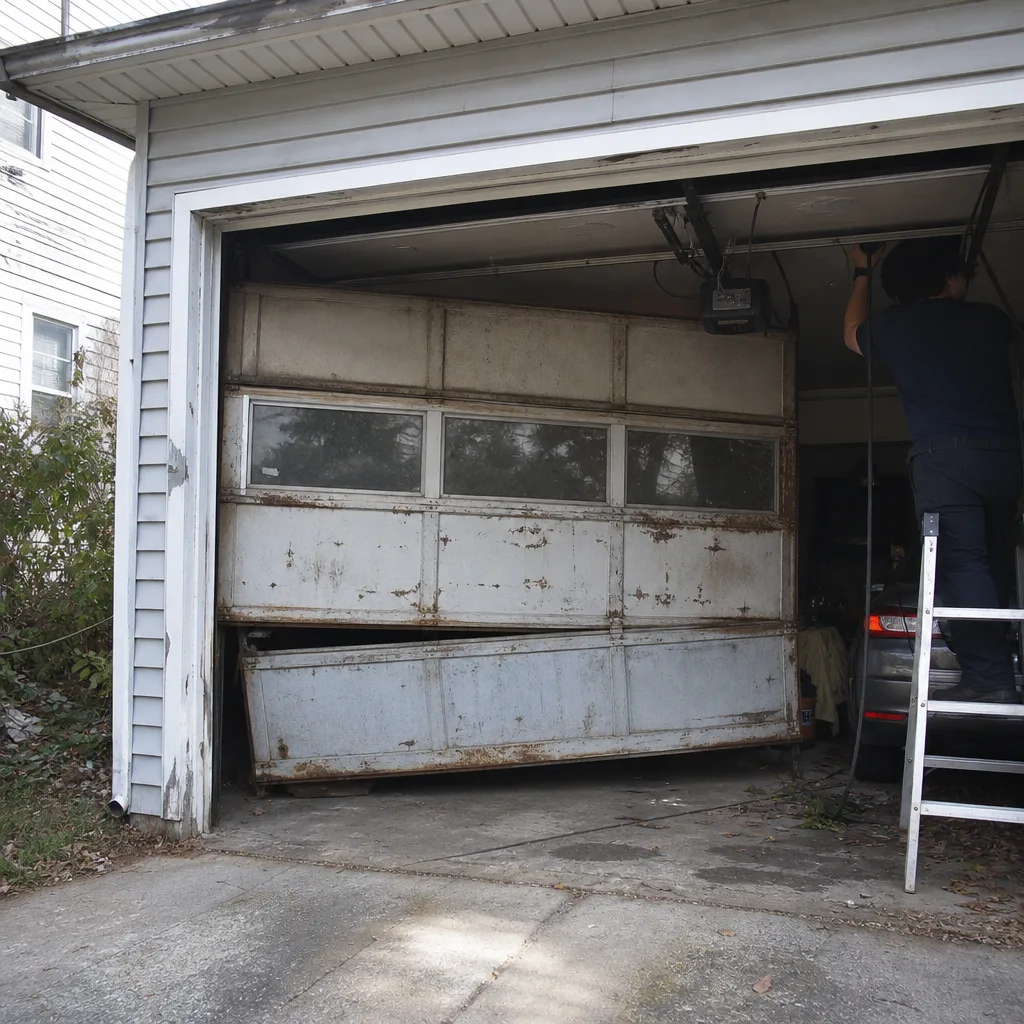 Before
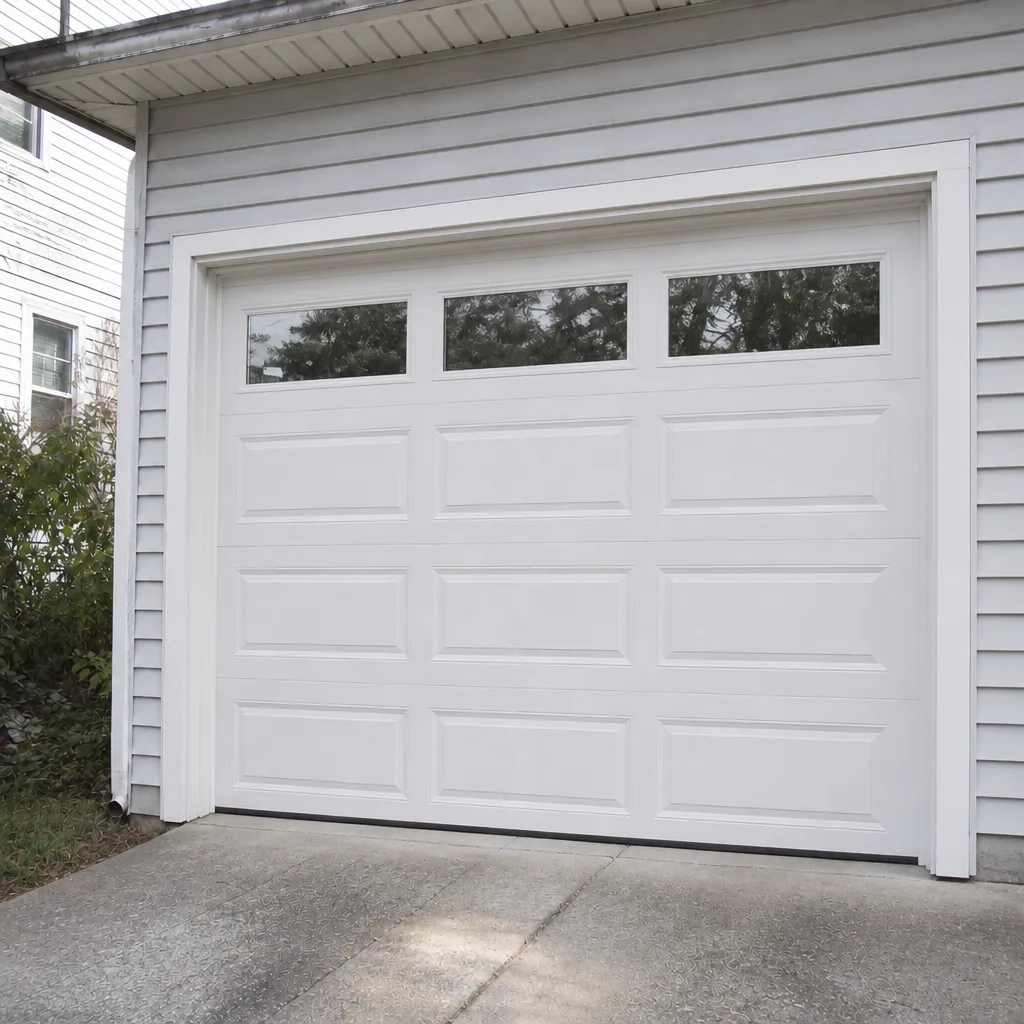 After
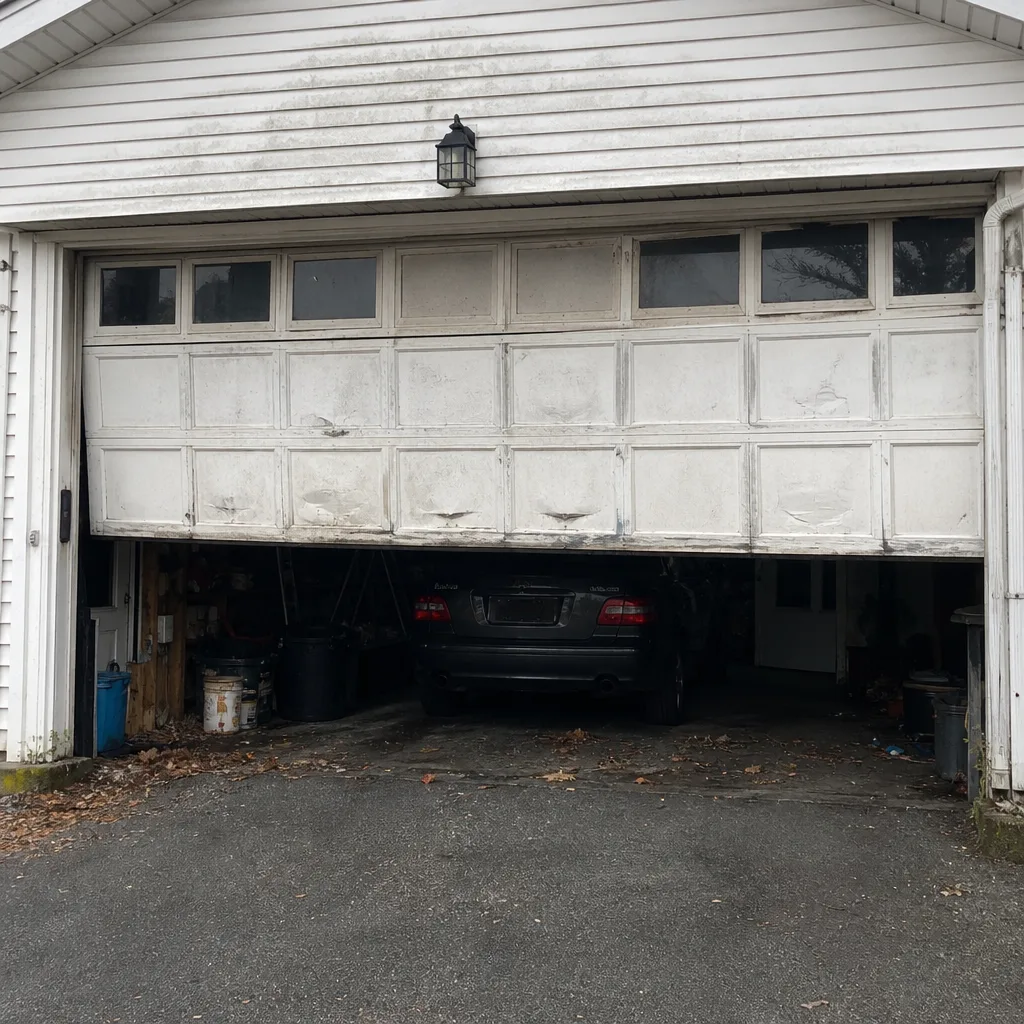 Before
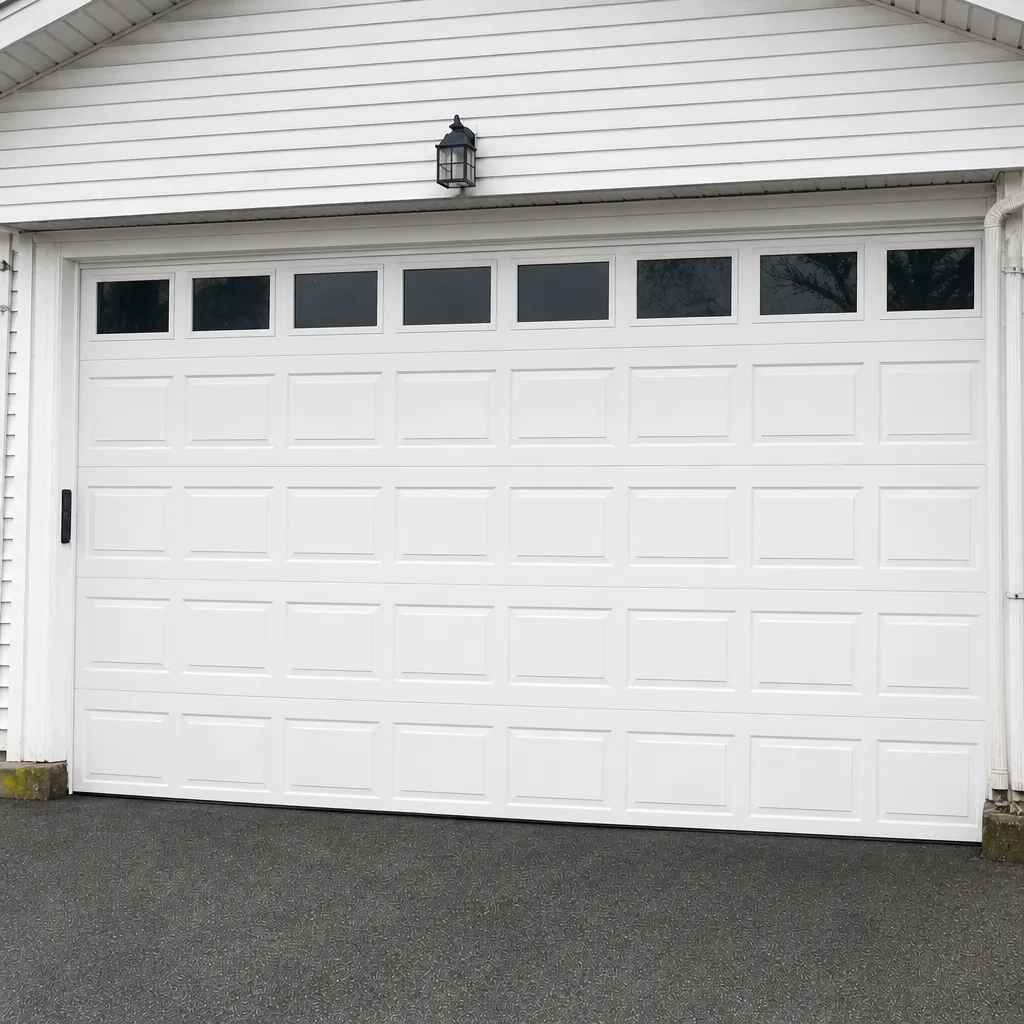 After
When to Call a Professional
Call a professional when you find any sign of spring or cable damage, when the balance test fails, when the door won’t reverse on contact with an obstacle, or when the track is bent or detached. Those are safety issues, and they need someone trained to handle high-tension components. Call sooner rather than later if the door has been getting harder to operate, noisier, or slower over the past few months, because those symptoms tend to point to parts that are wearing out before they fail. A professional can also do a full system check if you want a second opinion on a finding, and can advise on whether a repair makes more sense than a replacement.
Glacier Garage Door Repair offers free estimates in New Bedford. Call (855) 360-9057 and we’ll take a look. We answer 24/7, with fast dispatch from 7am to 7pm, Sunday through Friday, and we’re closed Saturday. Whether it’s garage door repair or a full system check, the estimate is free and the price is set by the written quote before any work starts.
Frequently Asked Questions
Do a light check and lubrication four times a year, timed to the seasons: after the last freeze in spring, at the start of summer, in early fall before the cold sets in, and in late fall before the first freeze. The fall tighten-up and the spring post-thaw seal check are the two most important visits.
Check the bottom seal first. In our experience, a seal that failed silently over the winter is the most common cause of bottom-panel moisture damage, and it’s inexpensive to fix before the panel warps. Run a hand along the seal and look for cracks, hard spots, and gaps where the door meets the floor.
No. Standard WD-40 is a solvent and water displacer, not a lubricant, and it strips existing grease from hinges and rollers and attracts dust. Use a garage-door-specific silicone or white lithium lubricant on hinges, rollers, and tracks, and a light silicone spray on the rubber seals.
If you see a visible gap in a torsion spring, fraying on a cable, or the door drops or runs away during the balance test, call a professional. Springs and cables are under extreme tension and should never be adjusted or replaced by a homeowner. Stop using the door and have a trained technician look at it.
Repair work generally doesn’t require a permit, but replacing a door or changing structural framing may. Ask the city’s building department about your specific project before work starts, and have the contractor confirm the requirements in writing.
In most cases, yes. Catching a worn bottom seal or a loose hinge early is a small repair; catching them late can mean replacing a bottom panel or a track section. A regular checklist prevents the most expensive repairs, and it also keeps the door and opener running safely.
The Bottom Line
A garage door maintenance checklist for New Bedford isn’t a generic national template. It’s a calendar built around the freeze-thaw cycle, the wet spring, the humid summer, and the pre-winter tightening season. The parts that cause the most trouble are the ones homeowners rarely inspect: the bottom seal, the rollers, the hinges, the tracks, and the cables. Test the balance, reversal, and force settings yourself with clear pass-fail marks, use the right lubricant and avoid the wrong ones, and use a simple triage system to decide what to watch, what to fix, and what to leave to a professional. Do those things and most repair calls never happen. If you’d rather have a professional run the checklist, Glacier Garage Door Repair is here for New Bedford, and we also handle garage door opener repair when the opener is the problem. Call (855) 360-9057 for a free estimate. We answer 24/7. Fast dispatch from 7am to 7pm, Sunday through Friday.
Written by the team at Glacier Garage Door Repair.